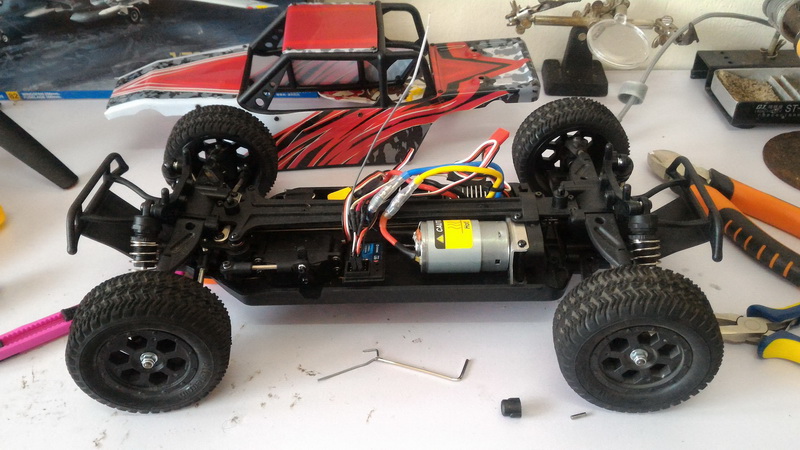
Did you guys remember my last review on 1:14 scale EACHINE F14 RATING KING FPV off-roader? Its been a while i haven't touch the model after those annoying break downs or should i manufacturer's flaw on the drive shaft plastic coupling (rear mid drive cup) design that wears out easily after putting 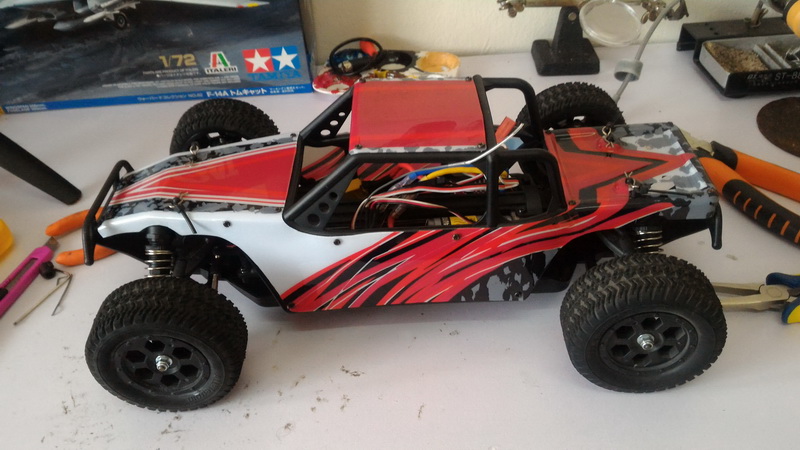 lots of torque on the tarmac. The only part that was worth to pull out from this EACHINE buggy was its FPV equipment: the vtx/osd combo unit which i rip it out and put in on to the car (K949/**) for an FPV adventures which i really impress with its range and simple modular setup....so i let the RATING KING buggy on the shelf collecting dusts for a while while its guts borrowed by other models.
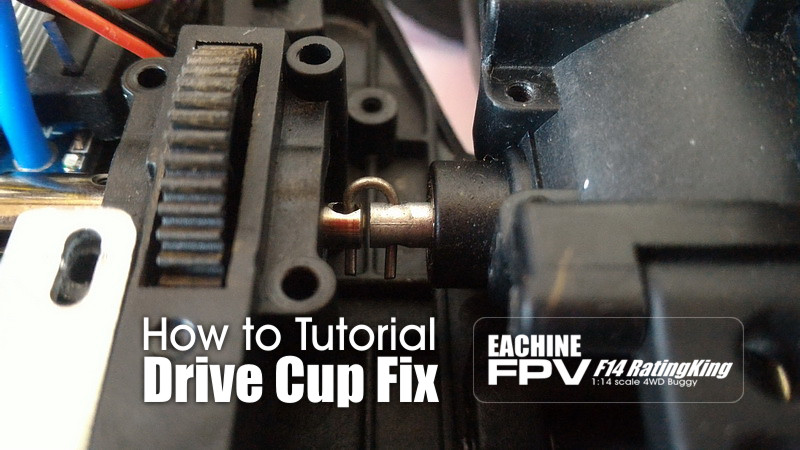
So this 2018 i decided to get back in the game fixing the flaw on this model permanently with a simple .. again i repeat 'extremely simple' fix to put the torque power back to the rear wheels. If you've already owned this F14 buggy for sometimes you should've encounter problem having no rear torque or the rear wheels not spinning as fast as the front wheels. If you let the rear wheel touch the ground and pull the throttle you might notice its not giving that effort to move forward, that is because the drive cup that connect to the rear axle via mid drive shaft that connects to mid spur gear have worn out. The cup that connect between the mid spur gear where the motor turn it and the rear axle actually connected by a black plastic coupling (cup) and ironically its the only drive cup that isn't made of metal unlike other parts around the buggy chassis. What makes the put turn through spur gear is actually friction driven around by small plastic pin inside the cup to act as a 'slipper clutch' unlike disc friction slipper cup you might find on serious off-roader model.
What do you need to get it fix: A small allen key/hex tool and a thumb length thick metal wire...ya! thats what you need..seriously. So let get the rear drive cup fix: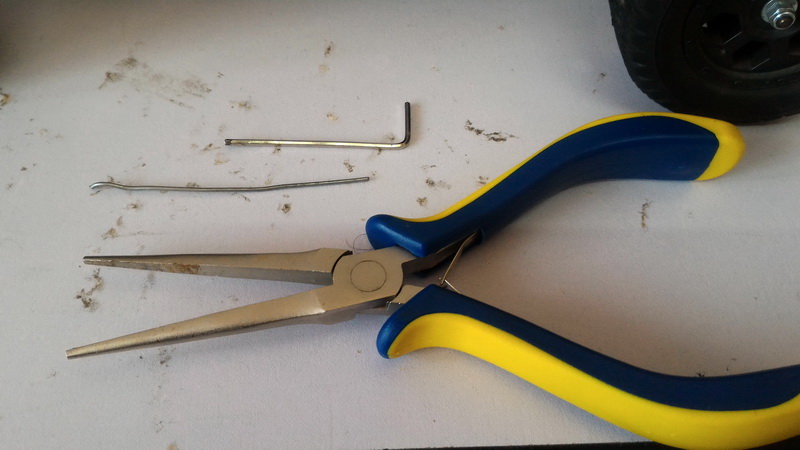
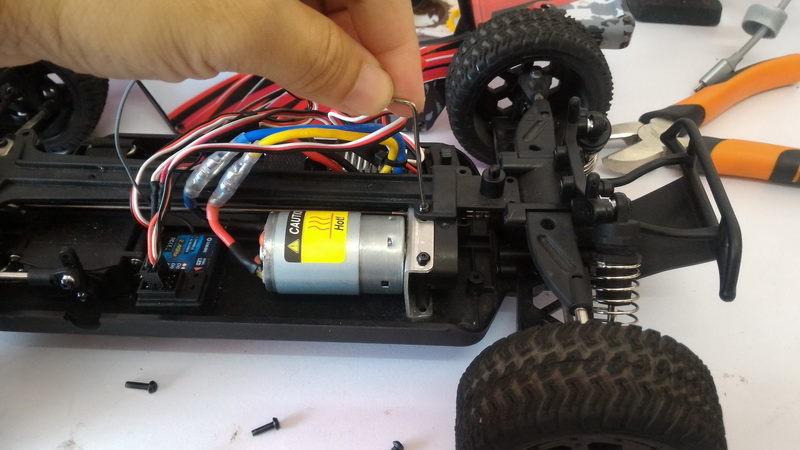
- First you need to unscrew some of the parts to detached the mid gear box just to pull out a plastic drive cup. You'll need a small allen key/hex tool to do the job. Remove some screws that holds the top plastic bar plate that bridged front and rear axle bulk heads and 3x screws on the lower undercarriage. Be aware that some screws have different length that holds different parts so you need to remember which screws goes to which when re-install and try not to shred the screw holes. Ok here some mind frustrating thing about EACHINE's way of building their first FPV off-road model, i thinks its not so sensible or not so good ideas to use small hex/allen screw on 1:14 scale mini because its way too hassle to unscrew/screw it and high probability stripping the hex tools or the screw itself. I don't know why they doesn't want to use 'Philip' (+) type screw which is common and easy for smaller models but i sense more likely because the get used hex screw a lot in multirotors which they are good at. So that was their bad mistake but definitely the biggest flaw was that darn plastic cup we're working at.
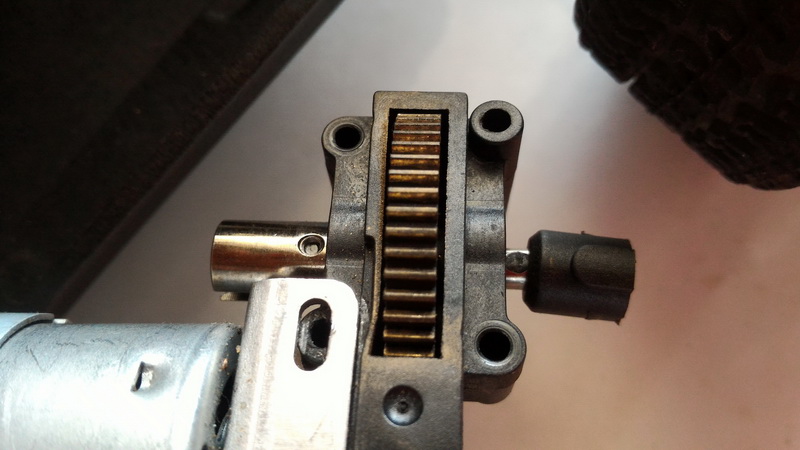
- Do not remove the last top screw on the most outer part of the gear case that pins the brightly sliver metal motor mount and the plastic gear case. This screw should remain intact to hold the position of the motor with the gear box because it holds the gear meshing position of motor pinion gear and the spur gear. Removing the screw may result in having to re-adjust the pinion gear and spur gear's tooth meshing.
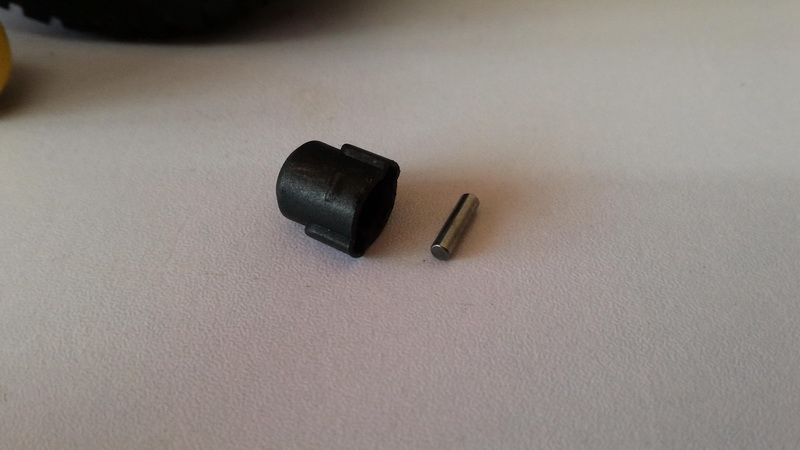
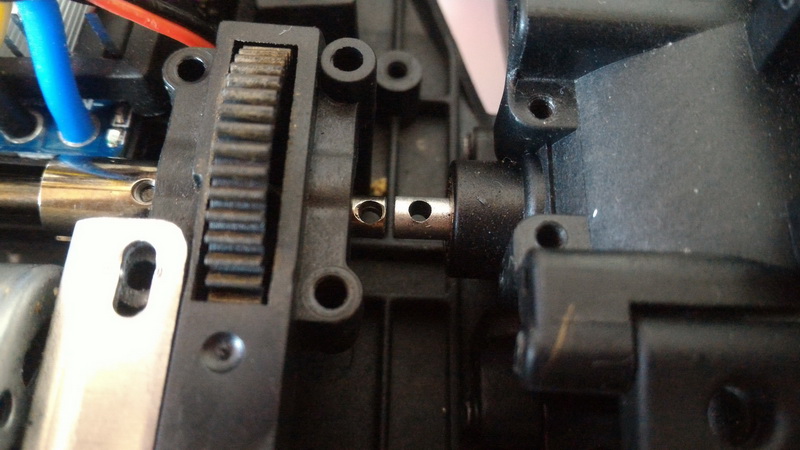
- Now if you've done unscrew what's needed and detached the mid gear box you should able to remove the rear black plastic cup easily. Upon removing it you might notice the hidden shaft behind the spur gear where it connects to the cup have a tiny hole embedded something looks black and plastic, this is the worn out 'friction based' plastic pin that suppose to rotate the cup act as almost a slipper clutch. You need to remove the black plastic pin out by a simple poke using anything narrow to get inside or you can use back those small hex tools in hand. Once you've removed the cup and cleared the pin hole you can move to next step.
- Done? Ok. Re-install/assemble back the whole parts back to its original form. Caution: before putting back the mid gear box into its place be sure that mid drive shaft rod that connect to the front axle is placed back into both side of their metal drive cups. To know if the gear box are placed properly on its proper place holder on the chassis do check the bottom under carriage, there are two small holes to indicate if the gearbox pin are locked nicely into these holes. Once these holes are covered by gear box's notches then you can put back the screw first on the bottom undercarriage before screwing the top part.
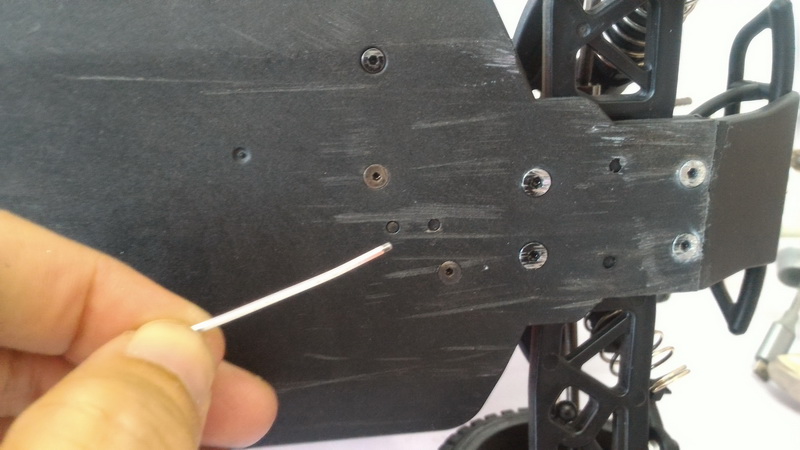
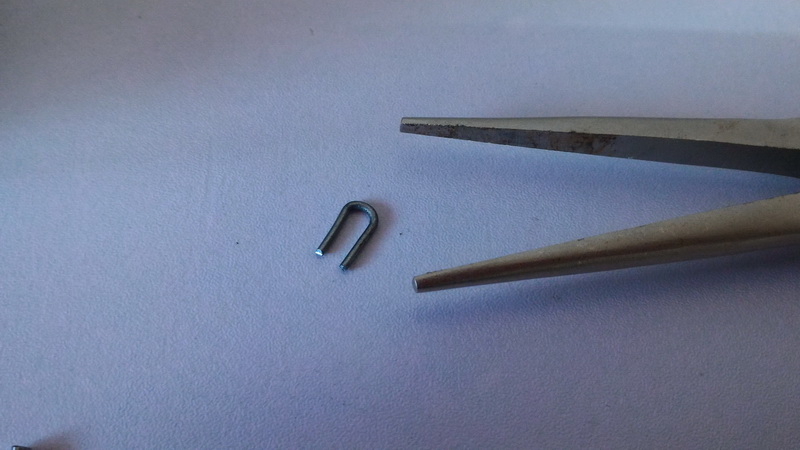
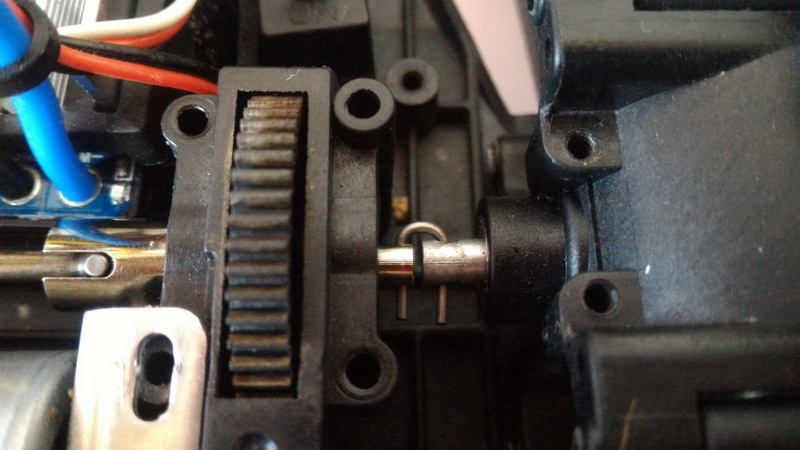
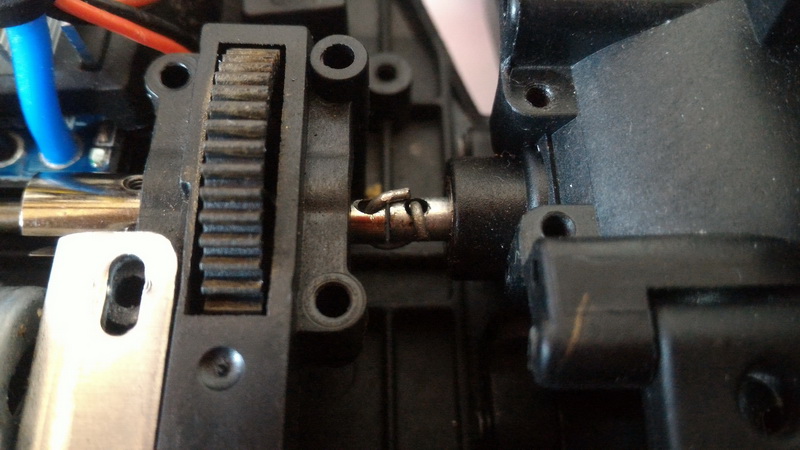
- Once you get everything assembled what's left is a disconnected shaft between the mid gear box and the rear axle drive shaft with a metal cup pin still dangling around. Remove the small pin out from the drive axle size of the drive shaft. Then you will see both ends of the drive shaft have unoccupied pin holes, so what we are going to do now is to link/bridge two drive shaft using a metal wire that fits through both holes. My ideas is to use thick metal wire, cut it and shaped it a bit of "U" shape like measured same distance both pin holes. So the shaped metal wire can be inserted into both pin holes then folded each ends towards itself to lock and secure it tightly. Use narrow plier to clip the pin in so it folds and locked tightly. Wiggle the wire around to make sure its doesn't loosen so much when both side of the drivetrains turns. If if it makes a metallic grinding sound or rattle a lot you can use electric tape and wrap it around to secure and dampens the sound. Done? Ok? then good job!, you've fixed the problem.
So there you go, problem fixed! You get 1:1 ratio equal torque power on the rear wheel just like the front wheels without slipper effect. The cons is that without the slipper if you jump and landed hard on rear wheels the shock feedback gets transfer back from wheel into drivetrains system and might wears out some gears especially the spur and pinion gears so do drive/bash carefully to prolonged the life of some gears. Go and enjoy 4 wheeled FPV racing.
List of visual references and related articles:
- Product review: EACHINE F14 RatingKing 1:14 scale 4WD FPV Buggy
- Galleries: 1/14 EACHINE RatingKing FPV Buggy